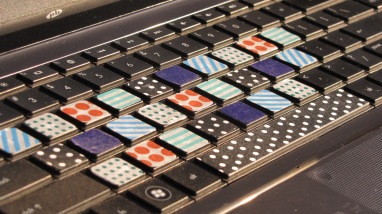
 Today I did something that I found on pinterest, washi taping my laptop keyboard!
I found this fun technique on Her New Leaf and knew I had to give it a try.
Yesterday my mom came home with some washi tape knock offs that she got at target for 4/$4.00. there are tons of websites that you can buy actual washi tape from, it’s just expensive.

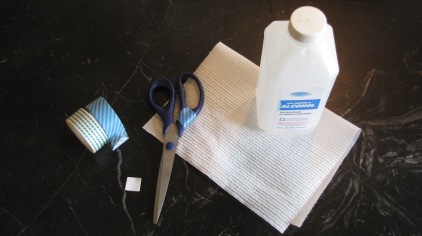
paper towel or cotton balls, rubbing alcohol, washi tape, scissors, cardstock or cardboard for templet, and a computer keyboard.
supplies that you’ll need for this project would be
-washi tape
(I used 6 different tapes but you can use as many as you want)
-scissors
-paper towel or cotton balls
-rubbing alcohol
-cardstock or cardboard
Start by cleaning the keyboard with the paper towel and rubbing alcohol to get any dust and oils off the keys.
Then cut templets out of the cardstock, and use it to cut the tape to the correct size.
Next apply the “stickers” you have just created, it does not matter how many keys you do, I just did my letters but you can do the numbers as well or even the whole keyboard if you feel like it!
One thing I worried about when doing this was if I would be able to see through the tape. Turns out that I can kind of see through all but the navy and black & white polka dots, I believe this is because they are both solid dark colors. My keys are black, but if they were white I think the tape would be easier to see through.
And there you have it! Your new fun, colorful, and creative keyboard!
I enjoyed doing this, it took some time but was definitely worth it.
So go ahead, give it a try, experiment with it and tell me how it goes.


